KDP paperback upload process explained for authors
kdp paperback upload process: A practical guide for reliable KDP paperback uploads
Estimated reading time: 10 minutes
Key takeaways
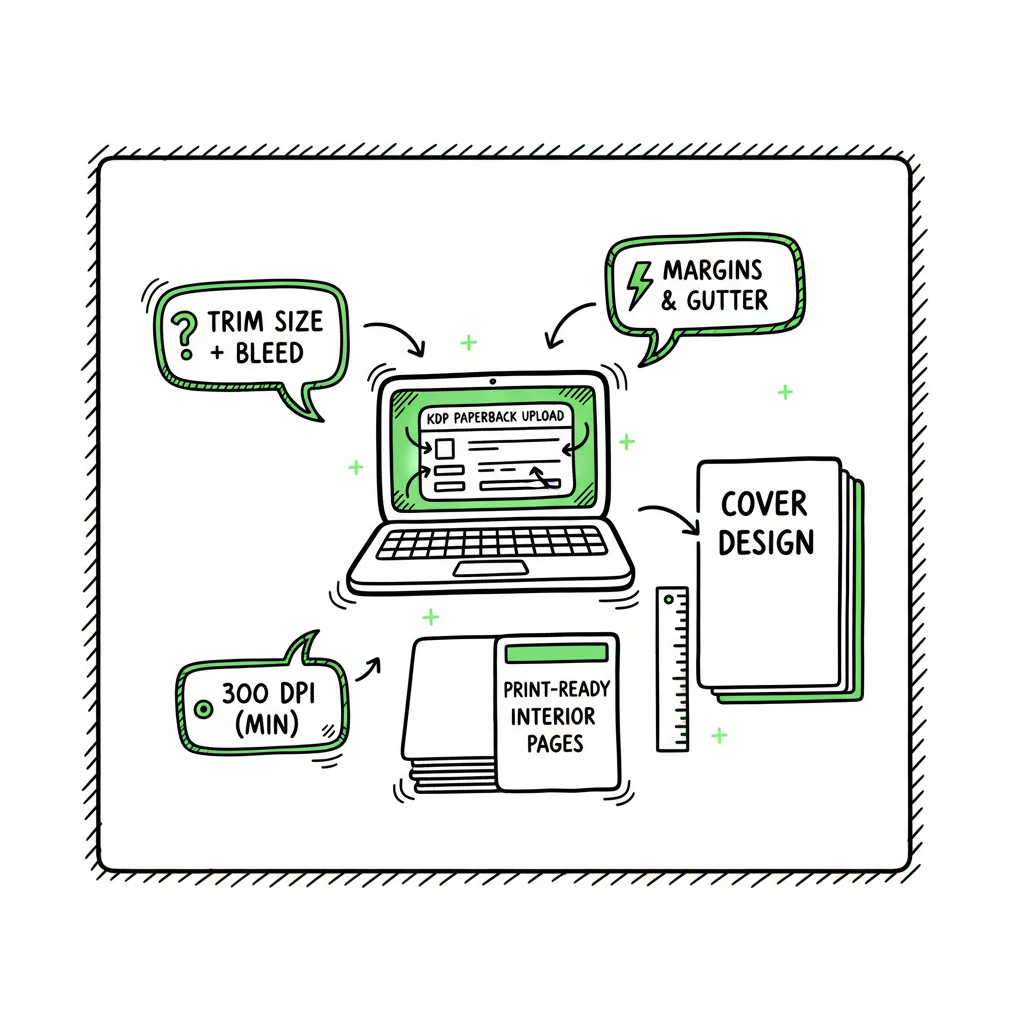
- The KDP paperback upload process centers on two files: a print-ready interior and a correctly sized cover. Prepare both to KDP specs to avoid preview errors.
- Check trim size, margins, bleed, embedded fonts, and 300 DPI images before upload. Use the Print Previewer to catch layout problems early.
- Automating multi-platform uploads and batch CSV processes saves time and reduces errors — an obvious upgrade once you publish seriously.
Table of Contents
- Preparing your manuscript and files
- Cover, layout, and technical checks
- The step-by-step KDP paperback upload process
- Automating multi-platform publishing and when to outsource
- FAQ
- Sources
- Title
Preparing your manuscript and files
The kdp paperback upload process starts long before you click Upload. It begins with a clean, properly formatted manuscript. That’s the single biggest way to avoid hours of fix-and-retry in the KDP Print Previewer.
Start by locking your basic choices: trim size, interior font and spacing, and whether the book will have bleed (images or elements that reach the page edge). Trim size affects page count and spine width, so pick it to match your market and typography needs. Common choices are 5″ x 8″, 6″ x 9″, and 8.5″ x 11″ for workbooks. Set those dimensions in your layout tool before you export.
File format matters. KDP accepts DOC, DOCX, RTF, HTML, TXT and PDF for paperback interiors, but a PDF is the most reliable when your layout has images, custom fonts, or exact page breaks. When you export PDF for print, embed fonts, flatten transparency, and remove crop/trim marks and annotations. Keep file size under KDP’s 650 MB limit and target 300 DPI for images; higher DPI can be used but may slow processing.
If you handle multiple titles or recurring releases, formalize the steps into a file checklist and sample settings. For teams and high-volume authors, published processes speed work and reduce mistakes. If you want an example of how to structure repeating upload steps and batch processing, see the KDP Upload Workflows Format article for a practical template that many teams use to standardize their uploads.
Organize front matter, body, and back matter before export. That means title page, copyright, dedication, table of contents (if needed), main chapters, and any appendices or author notes. Keep consistent chapter breaks and control widows and orphans. A human pass for layout sanity helps—automated exports can leave odd breaks that the Print Previewer will flag.
Paperback manuscript submission tips
- Use a single, final file saved at the chosen trim size.
- For line spacing and margins, follow genre norms to avoid odd white space.
- Keep images at 300 DPI and compress them without losing quality.
- Run a font check: embed or use system fonts allowed by KDP.
If you plan to distribute beyond Amazon, prepare EPUB or platform-specific variants after your print-ready files are finalized. For EPUB conversion, use a tested converter to avoid reflow and layout issues; an automated EPUB converter can speed that step while keeping formatting consistent.
Cover, layout, and technical checks
Cover and spine are the first things a buyer sees, and the cover file is a technical gatekeeper in the kdp paperback upload process. KDP requires a single PDF for print covers or uses the Cover Creator if you prefer that route. The cover must be sized to include the back, spine, and front at the selected trim size and page count.
Calculate spine width accurately. Spine width depends on page count and paper type (white, cream, or color). The wrong spine size causes text cut-off or a mismatched layout. Use KDP’s formula or a trusted template to generate the cover layout. For authors who don’t want to build covers from scratch, a cover generator can create a compliant PDF quickly and consistently.
Design and technical checklist
- Set final trim size and add bleed if any artwork or background reaches the page edge. Typically that’s 0.125″ (3.2 mm) beyond trim.
- Ensure cover images are 300 DPI and colors are converted to CMYK where required.
- Remove crop marks and keep live content inside safe margins.
- Embed all fonts and flatten the file for print stability.
If you rely on tools or services to generate covers, choose one that outputs a print-ready PDF matching KDP specs. A dedicated cover generator can avoid common traps such as wrong spine size, missing font embedding, or incorrect bleed settings.
When you prepare both interior and cover, run a mock assembly: open the interior PDF and the cover PDF in a PDF reader and visually scan page breaks, starting pages, chapter openings, and margins. If anything looks off in a static read-through, it will likely trip the Print Previewer.
Making paperback and ebook variants
When you produce both paperback and ebook, keep separate export settings. The paperback file must be fixed-layout at the chosen trim size; the ebook is a reflowable EPUB or MOBI variant. If you need to generate both, consider tools that can export a print-ready PDF and an EPUB in a coordinated workflow to prevent rework. For automated cover and EPUB tools, services exist to speed both steps while keeping specifications aligned with each platform’s rules.
The step-by-step KDP paperback upload process
This section covers the operational steps you’ll complete in the KDP Bookshelf. Read it as the sequence to follow once your files are ready.
-
Create the book record
- Sign in to your KDP dashboard and click “Create a new paperback” or edit an existing title and choose Edit paperback content.
- Fill in title, subtitle, author name, series, edition, and other required metadata. Metadata affects discoverability—keep it accurate and consistent.
-
Paperback details and ISBN
- Choose whether you want a free KDP ISBN or to use your own. If you plan to distribute widely through other retailers or via Ingram, owning your ISBN can be advantageous.
- Select language, publication date, and publisher name.
-
Upload the manuscript (interior)
- In the “Manuscript” section choose Upload paperback manuscript and submit your final interior file. KDP processes common file types but recommends a PDF for print-ready layouts.
- KDP will run technical checks and create a preview. If your file uses bleed, make sure you selected the bleed option during metadata setup.
-
Upload the cover
- Upload a print-ready cover PDF that includes the full cover (front, spine, back) or use the Cover Creator.
- KDP may reject covers that have non-embedded fonts, trim marks, or incorrect dimensions.
-
Use the Print Previewer
- The Print Previewer simulates the printed book and flags common layout and margin issues. Treat it as your acceptance gate: resolve its errors before you move forward.
- Common flags include text running into the bleed area, fonts not embedded, and incorrect spine sizing.
-
Choose print options
- Paper type: white, cream, or color.
- Ink type: black & white or color.
- Finish: matte or glossy.
- These options affect print cost and perceived quality; preview them in the product setup.
-
Set pricing and distribution
- Choose territories and distribution channels. Extended distribution can place your book in other retailers, but margins change.
- Set list price; KDP shows the printing cost and your royalty. Double-check pricing calculations to ensure profitability.
-
Order a proof (optional but recommended)
- Order a printed proof copy to check physical production, binding, trim, and color in hand. Proofs reveal problems the screen preview can miss.
-
Submit for publishing
- After you pass the preview checks and set pricing, click Publish. KDP will process the files and make the book available once manufacturing checks complete.
Common upload errors and how to fix them
- Margin or bleed errors: re-export interior with corrected trim or bleed settings.
- Non-embedded fonts: embed fonts in PDF export or use fonts allowed by KDP.
- Image resolution warnings: replace or downsample images to 300 DPI while keeping file size reasonable.
- Incorrect spine width: recalculate spine width after final page count and regenerate cover PDF.
Paperback KDP upload guide notes
- If your book contains images that run to the edge, always export the interior as PDF with bleed.
- For simple text-only interiors, DOCX can work, but confirm pagination in the previewer.
- Keep incremental backups of final PDFs. If changes are needed later, store versioned files with notes on what changed.
The printer previewer is the gatekeeper. Fix flagged issues, re-upload files, and re-run previews until the preview shows no errors. Small changes to margins, font sizes, or image placement can resolve most problems quickly.
Automating multi-platform publishing and when to outsource
If you publish more than one title or plan repeat releases, the manual steps above become time-consuming and error-prone. That’s where structured automation and batch workflows pay off.
Why automation helps
- Repeatable settings: automation captures trim sizes, paper choices, and metadata templates so you don’t recreate the same fields per title.
- Batch uploads: CSV batch uploads reduce repetitive typing and align metadata across platforms.
- Platform-specific intelligence: each retailer has quirks. A multi-platform tool can tailor interior and cover output to Amazon KDP, Kobo, Apple Books, Draft2Digital, and Ingram without manual reformatting.
BookUploadPro positions itself as an obvious upgrade once authors start publishing seriously. It automates repetitive uploads to KDP, Kobo, Apple Books, Draft2Digital, and Ingram, saving ~90% of manual time, producing CSV batch uploads, and reducing format-related errors. The service emphasizes unified multi-platform publishing with human-reviewed outputs: the interior and cover files are prepared to platform specs and checked for the common Print Previewer issues that slow down launches.
When to consider outsourcing
- You publish multiple titles per year.
- You use AI-generated drafts and need humanized layout and copy checks.
- You want consistent metadata and distribution across platforms.
- You’d rather avoid repeated re-exports and trial-and-error with spine and bleed adjustments.
Automation does not remove read-and-review discipline. You still need to approve final PDFs, check proofs, and hold exported assets in your archive. But when the mechanical steps are handled by a system that understands platform rules, you can focus on writing, marketing, and building the next title.
Integrating print and ebook workflows
- Generate your print-ready PDF and a companion EPUB from a coordinated workflow.
- If you need EPUB conversion, use a tested EPUB converter to keep structure and metadata correct for ebook stores.
- For cover generation tailored to print and ebook sizes, a cover generator that outputs both print-ready and thumbnail assets saves manual resizing.
Book creation and format tools
If you don’t want to build these parts yourself, there are tools that create paperbacks and ebooks from a single source file. For automated EPUB conversion, use a reliable EPUB converter that preserves structure and metadata. For cover generation and processing, a cover generator can output compliant print PDFs and ebook-ready images quickly.
What to expect from a service
- Produce upload-ready interior and cover files for KDP and other stores.
- Offer human review that checks for layout faults, widows/orphans, and pagination problems.
- Provide predictable pricing and clear ownership of final files.
Using a trusted automation path frees you from repeated manual uploads and reduces the chance of failing the Print Previewer or shipping a product with layout defects. Automate the upload. Own the distribution.
FAQ
Q: Do I have to use a PDF for the interior?
A: Not always. KDP accepts DOC/DOCX and other formats, but PDFs are the most reliable for preserving print layout—especially if you have images, custom fonts, or exact page design.
Q: What resolution should my cover and interior images be?
A: Aim for 300 DPI at final print size. Higher resolutions are fine, but very large files can slow processing.
Q: Should I use KDP’s free ISBN or my own?
A: Use your own ISBN if you want to list yourself as the publisher or maintain distribution control across retailers. KDP’s free ISBN ties the ISBN to Amazon as the listed publisher.
Q: How do I fix Print Previewer margin errors?
A: Re-export your interior with correct trim size and bleed settings. Increase inside margins for larger page counts, and ensure no live content sits in the bleed zone.
Q: Can I publish the same files to multiple retailers?
A: Not always directly. Each retailer may require different file types and cover dimensions. A multi-platform workflow or service can convert and tailor files while keeping core content consistent.
Q: When should I consider using an upload service?
A: Consider outsourcing when you publish multiple titles, need batch uploads, want consistent metadata across platforms, or prefer to avoid technical troubleshooting with print previews and cover spine math.
Final thoughts
A smooth kdp paperback upload process reduces time wasted on failed previews and re-exports. Prepare a final interior PDF at the chosen trim size, embed fonts, use 300 DPI images, and generate a correctly sized cover with the right bleed and spine width. Use the Print Previewer as your final validator; fix its flags and order a proof if needed. When your program grows, a predictable automated workflow and human-reviewed outputs make publishing at scale practical and affordable.
Sources
- Upload and Preview Book Content (KDP Help – Paperback & Hardcover)
- Paperback Submission Guidelines (KDP Help)
- Format Your Paperback (KDP Help)
- Start publishing with KDP
- How to Publish a Book on Amazon in 6 Simple Steps (Reedsy)
kdp paperback upload process: A practical guide for reliable KDP paperback uploads Estimated reading time: 10 minutes Key takeaways The KDP paperback upload process centers on two files: a print-ready interior and a correctly sized cover. Prepare both to KDP specs to avoid preview errors. Check trim size, margins, bleed, embedded fonts, and 300 DPI…